
Once the final sketch is complete, it’s time to start inking the sketch.
I personally find this to be the most challenging stage. At the sketching stage, you are having fun trying to create the scene that you are picturing in your mind. I love the challenge of pulling all the bits and pieces of details that are floating around in my mind (or on my sketchpad) into a cohesive unit that is not only correct according the foundations of drawing, but also visually appealing. The sketching stage takes a long time- and by the time I get it right- I want to dive right into the next exciting stage- coloring the image. But, alas, there is another step in the process that I often cannot ignore. (I can only ignore this stage when the kind of illustration being created is one with a painted style- without line-work).
[divider style=”25pxblankspace”]
So we start inking the lines for the illustration.
[divider style=”25pxblankspace”]
The reason that this stage is not as exciting as the others is because I find this stage to be the most tedious and the least creative. The sketched lines are there- I now have to draw ‘perfectly’ inked lines to go over those sketched lines. The trick with these lines is… (drumroll)… that there is no trick. Maybe I’m missing something, but from what I found, the only way to get good clear lines that don’t have lumps or bumps in the wrong places, is by drawing and redrawing the line – until it meets your needs. The only lines that one can get away with easily in Photoshop are perfectly straight lines and perfect circles. Of course,when not working in Photoshop, those kinds of lines/shapes are really really difficult to create without some form of assistance- such as a ruler or stencil. (Actually, when I studied drawing, we were not allowed to use any rulers or stencils- only a pencil, eraser, paper, and easel.) But as for any other kind of lines – one requires patience and practice. Inking takes a long time but it’s worth it. When done in a rush- the image suffers. When done right- the image looks right- and will often actually look like it must have been simple to create.
[divider style=”25pxblankspace”]
Which brings me to another point- a lot of people seem to think that drawing digitally is ‘much easier’ than drawing on paper. I work with a tablet and stylus (pen) – and find the process to actually be very similar. I actually find drawing with a pencil and paper easier in terms of control- than a stylus and pad. There are no tricks (or at least not any that I know of in Photoshop) that will make up for poor pencil/stylus control. The only thing that I know of that will improve one’s line-work, inking, and drawing skills is practice, practice, and practice some more.
[divider style=”25pxblankspace”]
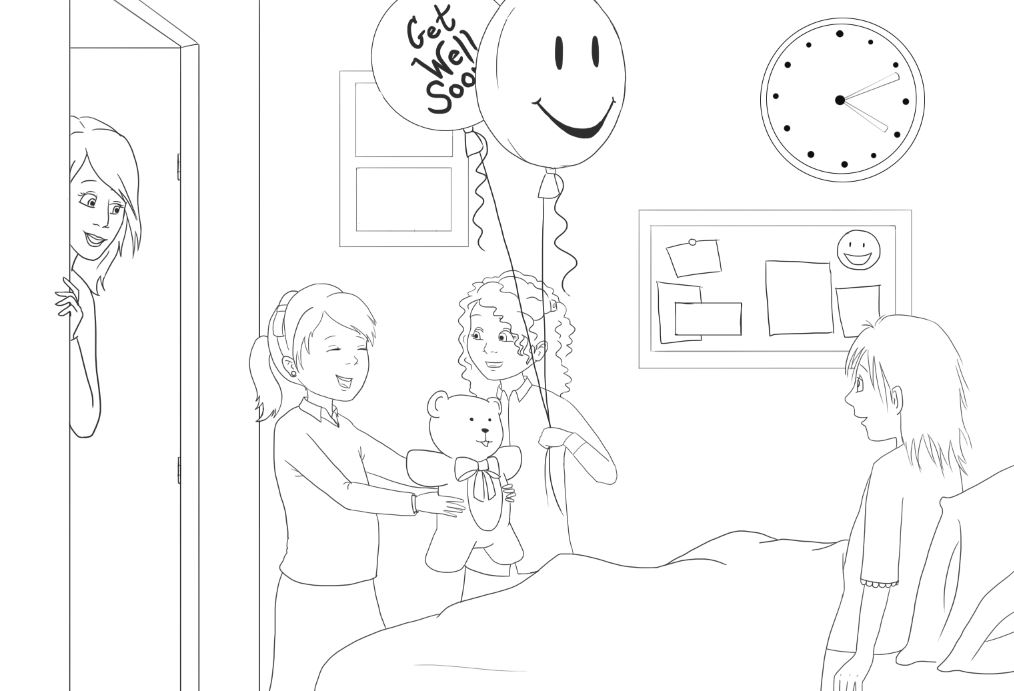
Anyway, here is the completed inked line-work. After all that talk about practice makes perfect, this piece definitely has its share of imperfections. But as it was a personal piece, and I was so excited about the next stage, this was as far as I got. Now comes the really fun part – coloring the image.
[divider style=”25pxblankspace”]
Leave a Reply